
**Download free printable sizer →
You can size your finger at home with a mm ruler and a simple strip of paper. Match the inner circumference you get to a trusted chart, and confirm the result on another day. If you want to measure ring size home without guesswork, this 2026 guide gives you five accurate methods, clear mm targets, and a mini conversion chart you can trust.
Most errors come from tight wraps, cold fingers, or using a stretched string. So, you’ll measure twice, at the right time of day, and convert to your size using inner circumference or diameter in millimeters. Then, you’ll sanity-check the result with a ring you already own.
What Ring Size Actually Means (And Why Getting It Right Matters)
Ring size is a measurement of your finger, not the ring’s outside edge. Specifically, sizes are defined by the ring’s inner circumference or inner diameter, measured in millimeters (mm). For example, a common size like US 7 has an inner diameter of about 17.3 mm, which equals an inner circumference of about 54.4 mm.
Different regions use different scales. The US system uses numbers with quarter and half sizes (e.g., 6.5, 7, 7.25). The UK and Ireland use letters with half steps (e.g., N, N½, O). The EU scale is numeric and corresponds to inner circumference in mm (e.g., 54 equals about 54 mm). In India, retailers use numeric sizes on a simple ladder (e.g., 14, 15, 16) that map closely to US sizes and to inner circumference in mm.
A small mismatch matters. A US half-size changes the inner diameter by about 0.4 mm and the inner circumference by about 1.3 mm. That tiny shift can make a ring feel snug by midday or, worse, loose enough to fling off when your fingers shrink. Wider bands amplify this effect because they cover more finger surface and need a bit more room.
For accuracy standards and reference tables, see the Wikipedia: Ring size page, which summarizes ISO 8653 and shows cross-system charts. Use it to double-check any at-home result before you commit.
Quick Definitions You’ll Use
Inner diameter (ID) is the straight-line distance across the ring’s hole in millimeters, while inner circumference (IC) is the distance around the inside of the ring. Sizes change in small increments: a half-size is roughly a 0.4 mm shift in ID, or about 1.3 mm in IC. Charts and converters rely on these two measurements to map across systems. For fit, the ring should slide over the knuckle with light resistance and then rest snug at the base.
Also Read!
How to Buy Indian Bridal Jewelry Online with International Shipping
How to Buy Indian Jewelry Online with International Shipping for Celebration Gifts
5 Ways to Measure Your Ring Size at Home — Step by Step
You’ll see five proven ways below. Choose the one that suits your tools and timing. For consistency, aim to measure at room temperature and confirm your result on a second day. These steps are the simplest ways to measure ring size home with solid accuracy.
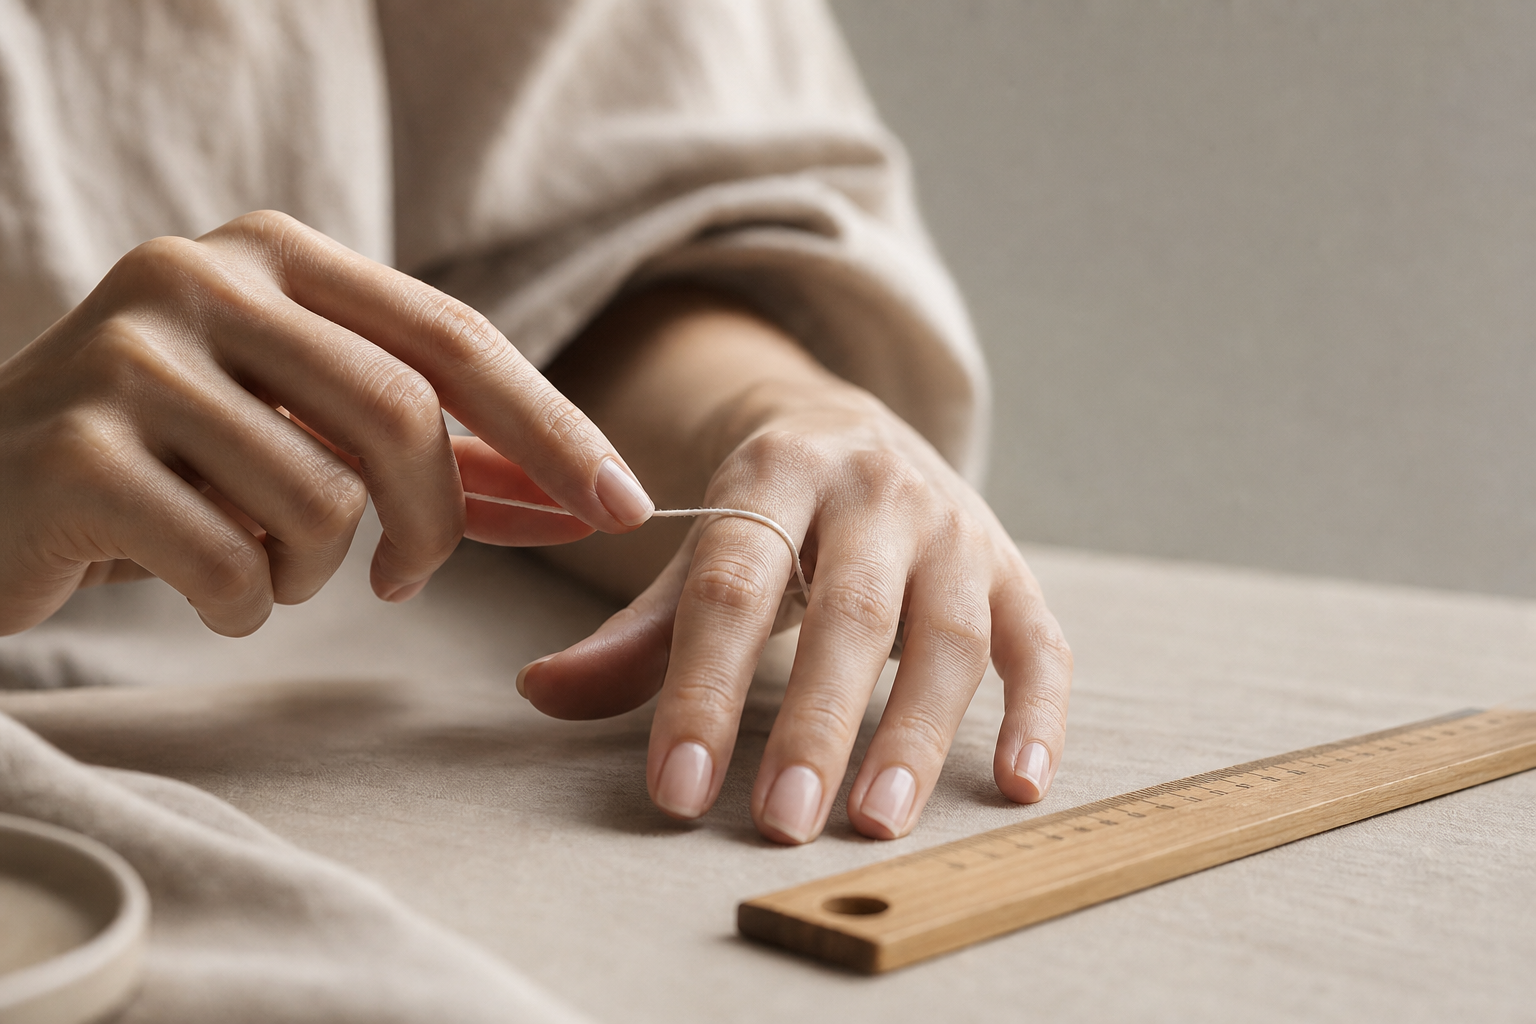
Method 1: String or Floss Wrap + mm Ruler
- Step 1: Cut a non-stretch string or unflavored floss.
- Step 2: Wrap it around the base of your finger where the ring will sit.
- Step 3: Mark where the string overlaps with a fine pen.
- Step 4: Lay it flat and measure the length between marks with a mm ruler. That length is your inner circumference (IC).
- Step 5: Convert IC to your size using the chart below. If you’re between sizes, go up by half a size.
Tip: Do not pull tight. The string should hug the skin, not indent it. If you can slide a thin business card edge under the string, it’s probably too loose.
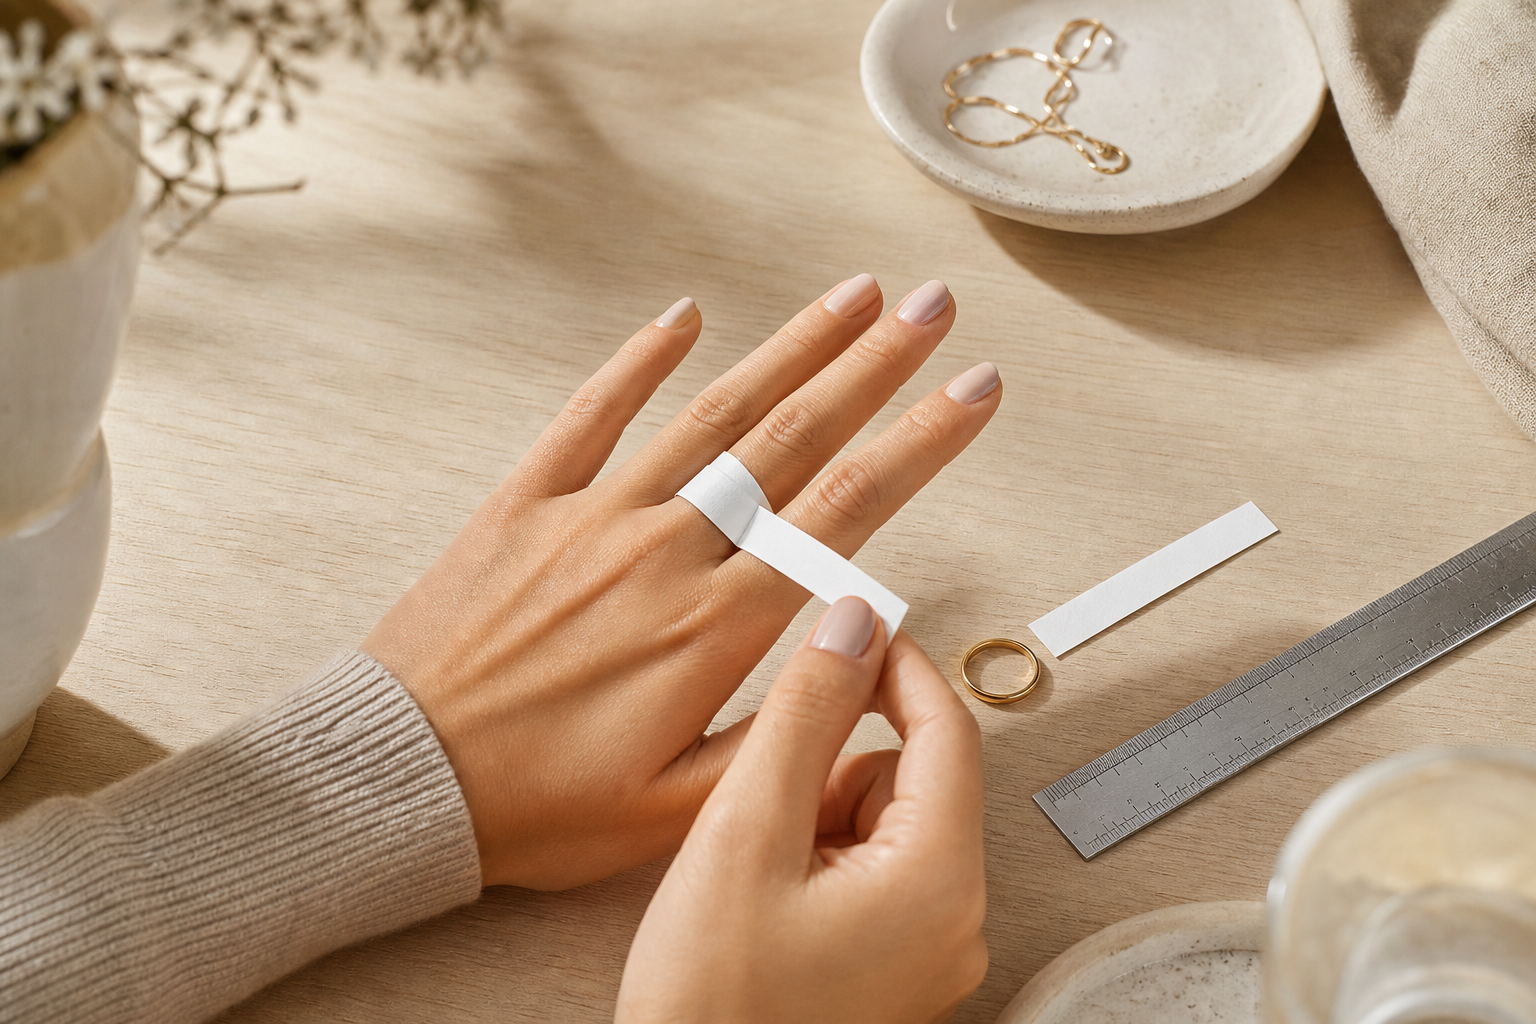
Method 2: Paper Strip Method
- Step 1: Cut a 5–8 mm wide strip of plain paper.
- Step 2: Wrap it around the base of your finger.
- Step 3: Mark the overlap line with a sharp pencil.
- Step 4: Measure the strip to the mark in mm (that’s IC).
- Step 5: Match to size using the conversion snippet below.
Tip: Paper compresses a bit. If you see two sizes near your result, choose the larger half-size.
Method 3: Measure an Existing Ring (Diameter)
Choose a ring that fits the same finger you plan to size and place it on graph paper or a ruler. Measure the inner diameter straight across at the widest point, in millimeters. Convert that diameter to a size using a diameter-to-size chart, or turn it into circumference (IC ≈ ID × 3.1416) and match to the mm-to-size snippet below.
Tip: Measure two or three times, rotating the ring 90° between reads, and average.
Method 4: Printable Ring Sizer
- Step 1: Print a ring sizer at 100% scale (no “fit to page”).
- Step 2: Verify the print scale with the sizer’s built-in ruler line.
- Step 3: Either place an existing ring on the printed circles to find a match, or cut the printed belt sizer and wrap it around your finger.
- Step 4: Read your size where the belt lines up.
As of 2026, many printable charts are aligned with ISO 8653. You can check and cross-verify circle sizes using the Wikipedia: Ring size chart before printing. If your printer scales oddly, use a copy shop for one clean print.
Method 5: The Soap Bar Impression (For Surprise Proposals)
- Step 1: Press their ring (that fits the correct finger) gently into a smooth bar of soap to make a clear inner edge imprint.
- Step 2: Photograph the imprint next to a mm ruler, straight on, with good light.
- Step 3: Measure the inner diameter on the bar or from the photo at true scale.
- Step 4: Convert ID to size.
- Step 5: Return the ring exactly where you found it.
Tip: You can also trace the inside of the ring on paper with a sharp pencil, then measure the drawn circle’s diameter, but watch for line thickness (keep it thin).
Quick Conversion Snippet (Inner Circumference mm → US and Indian)
These values align with the Wikipedia chart (rounded to one decimal place).
| Inner Circumference (mm) | Inner Diameter (mm) | US Size | India Size |
|---|---|---|---|
| 49.3 | 15.7 | 5 | 11 |
| 51.9 | 16.5 | 6 | 12 |
| 53.1 | 16.9 | 6.5 | 13 |
| 54.4 | 17.3 | 7 | 14 |
| 55.7 | 17.7 | 7.5 | 15 |
| 56.9 | 18.1 | 8 | 16 |
| 58.2 | 18.5 | 8.5 | 17 |
| 59.5 | 18.9 | 9 | 18 |
Note: If you land between rows, go up by half a size, especially for wider bands (6 mm+).
Common Mistakes That Lead to the Wrong Ring Size
Sizing errors are easy to avoid once you know what to watch for. First, measuring when your hands are cold results in a size too small. Second, measuring during a hot afternoon or after salty food can give you a size too big. Therefore, aim for room temperature, late afternoon, and a neutral salt intake.
Another trap is pulling string or floss too tight. If you see dents, you’re underestimating the circumference by 1–2 mm, which can translate to a full size smaller. Conversely, a loose wrap can add 1–2 mm and make the ring spin.
If your knuckle is wider than the base of your finger, size for the knuckle and consider a comfort-fit band to help it glide on and off. Always measure the exact finger on the intended hand, since left and right often differ. Band width matters too: move up half a size for 6–8 mm bands, and consider a half to full size up for 9 mm or wider styles. Measure on two different late afternoons and average the results, and keep the room around 20–22°C so temperature doesn’t skew the reading.
Finally, don’t skip the conversion step. Before you measure ring size home again, match your mm result to a chart and confirm with an existing ring. If you’re still unsure, use a plastic multisizer to lock it in.
“I love that I can book a video consultation before buying. The designer walked me through three options over a call. Bought on the spot.” — Kavita Reddy, Hyderabad
Also Read!
How to Design Custom Jewelry with 3D Preview for the Perfect Gift
Tools and Resources for a More Accurate Measurement
A $5 plastic ring sizer kit is the easiest upgrade. It’s a set of plastic loops or a belt-style gauge you slide on and read. Because they’re rigid or semi-rigid, they reduce “too tight” wraps and give repeatable reads within about a half-size.
A jeweler’s mandrel and calipers are even better. If you already own a ring that fits, you can read its size on a mandrel in seconds and verify the inner diameter with calipers to the nearest 0.1 mm. However, avoid smartphone “ring sizer” apps that rely on photos without a scale: camera distance and angle can skew readings by 0.5–1.0 mm.
For a printable, ISO-aligned chart and cross-check circles, use the Wikipedia: Ring size page. Print at 100% and validate the scale line before using the circles.
Retailers also help you confirm sizing before any order. Tools like Caratflow offer video consultation to review your measurement, discuss band width, and confirm knuckle fit. In addition, their policies signal low risk while you decide: 365-day free insured returns and custom jewelry design with 3D mockup are available if you’re exploring a bespoke ring and want to nail the fit early without pressure.
What to Do After You've Got Your Size
Write your result down in two ways: inner circumference in mm and your US/Indian size (e.g., “54.4 mm IC = US 7 = India 14”). Then, measure again on a second day at the same time. If the two sizes differ by a half-size, choose the larger one.
If you’re between sizes, go up by half a size. Moreover, adjust for band width: add a half-size for 6–8 mm bands, and consider up to a full size for 9 mm+ bands. For comfort-fit profiles, you may be fine at your base size since the rounded inner wall slides past the knuckle more easily.
For surprise rings, you have options. You can borrow a ring that fits the correct finger and trace its inner edge, use the soap impression trick, or ask a close friend or family member who knows their size. If the proposal is soon, prioritize getting within a half-size. Most quality jewelers offer free resizing within a common range, and Caratflow backs this with a lifetime exchange policy to make fine-tuning risk-free for you.
Finally, plan your first real-world test. Wear a similar band for a full day if possible. Note if it spins at noon or feels tight at night. Then lock your final size.
 , showing half-size deltas (~0.4 mm ID, ~1.3 mm IC) and band width guidance; minimal design, high contrast)
Key Takeaways
Measure in millimeters first, inner circumference or diameter, and then convert to your local size system. Confirm the result twice by measuring on two late afternoons before purchasing. Adjust for width by sizing up half a size for 6–8 mm bands and more for 9 mm+, and if you’re between sizes, choose the larger; comfort-fit profiles may offset tight knuckles. Use a plastic sizer or a reliable printable chart, and cross-verify with Wikipedia: Ring size. With a ruler, paper strip, and one careful conversion, you can measure ring size home accurately.
What to Do This Week
Pick one method and measure today, then again two days later at the same time. Record the mm value and size from the chart. If you’re planning a surprise, try the soap impression and cross-check with a plastic sizer. If you want a second set of eyes before you commit, book a quick call and get a pro to confirm your band width and knuckle fit.